How to Shoot Product Photography at Home

In today’s digital age, high-quality product photography is essential for e-commerce success, marketing, and brand image. While professional studios can be costly, you can achieve impressive results from the comfort of your home with a little creativity and the right approach. Here’s a comprehensive guide to help you shoot stunning product photography at home.
1. Understand Your Product
Before diving into the technical aspects of photography, take some time to understand the product you’re photographing. Consider its features, benefits, and unique selling points. This understanding will guide your photography style, lighting, and composition.
2. Gather Your Equipment
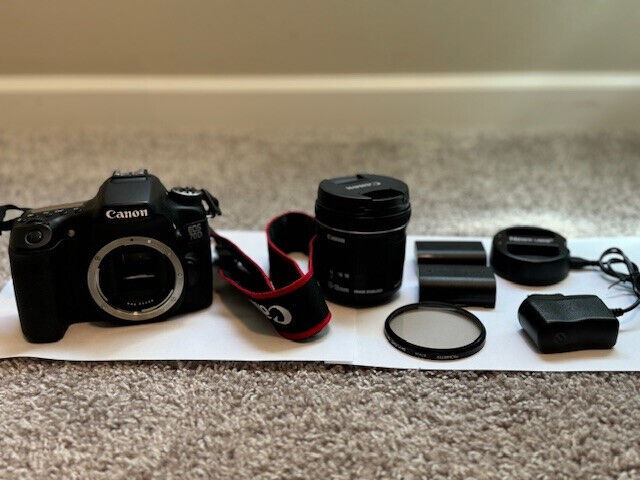
While professional gear can enhance the quality of your shots, you don’t need to break the bank to get started. Here’s a list of essential equipment:
- Camera: A DSLR or mirrorless camera is ideal, but modern smartphones with high-resolution cameras can also produce excellent results.
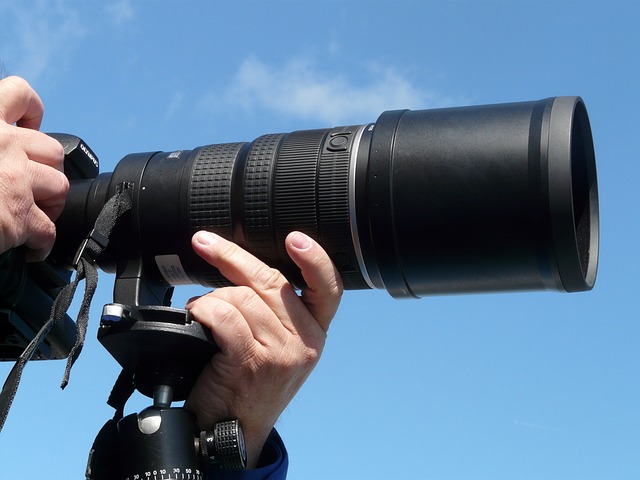
- Tripod: A tripod ensures stability and helps prevent camera shake, which is crucial for sharp images.
- Lighting: Natural light is great, but if you’re shooting indoors, consider investing in affordable lighting kits or softboxes.
- Backdrop: White or neutral-colored backdrops work well for product photography. You can use fabric, poster boards, or even a simple white sheet.
- Props: Depending on your product, props can add context or enhance the visual appeal. Ensure they complement rather than overshadow the product.
3. Set Up Your Shooting Space
Choose a well-lit area with minimal clutter. Natural light works best, so shooting near a window is a good option. If natural light is insufficient, use your artificial lighting setup to mimic natural light as closely as possible.
- Backdrop Setup: Place your backdrop on a flat surface or hang it up to create a seamless background. Ensure it’s smooth and wrinkle-free to avoid distractions in your photos.
- Lighting Arrangement: Position your lights to create even illumination. For soft, diffused light, place your light sources at 45-degree angles from the product. Use diffusers or softboxes to minimize harsh shadows.
4. Composition and Angles
The composition of your shot is crucial for highlighting the product’s best features. Here are some tips for effective composition:
- Focus on Details: Ensure the product is the focal point. Use a shallow depth of field to blur the background and emphasize the product.
- Use the Rule of Thirds: Position your product off-center for a more dynamic composition. Imagine dividing your frame into nine equal parts with two horizontal and two vertical lines; place the product along these lines or at their intersections.
- Experiment with Angles: Shoot from multiple angles to capture different perspectives. Show the product from above, eye-level, and close-ups to provide a comprehensive view.
5. Lighting Techniques
Proper lighting is key to making your product look its best. Here’s how to optimize lighting for your product shots:
- Natural Light: If using natural light, shoot during the day when the light is bright but not harsh. Use sheer curtains to diffuse sunlight and create a soft, even light.
- Artificial Light: If using artificial lighting, position your lights to reduce shadows and highlight the product’s details. Use softboxes or diffusers to soften the light and prevent harsh reflections.
6. Focus and Exposure
Getting the focus and exposure right is crucial for sharp, well-lit images. Here’s how to manage these aspects:
- Manual Focus: Use manual focus to ensure the product is sharp and in focus. Autofocus can sometimes miss fine details, especially in macro photography.
- Exposure Settings: Adjust your camera’s exposure settings to avoid overexposure or underexposure. Use a lower ISO to reduce noise and maintain image quality. Set a higher aperture for more depth of field, or a lower aperture for a blurred background.
7. Editing Your Photos
Post-processing can significantly enhance your product photos. Here’s a basic workflow for editing:
- Crop and Straighten: Crop the image to remove any unwanted elements and straighten it if needed.
- Adjust Brightness and Contrast: Enhance the brightness and contrast to make the product stand out. Be careful not to overdo it, as it can lead to unnatural-looking images.
- Retouching: Remove any blemishes or imperfections on the product. Tools like Adobe Photoshop or Lightroom offer various retouching options.
- Color Correction: Ensure the colors in the photo match the actual product. Adjust the white balance if necessary to correct any color casts.

8. Showcase Your Product Effectively
Present your product in a way that highlights its features and uses. Here are some additional tips:
- Lifestyle Shots: Include images of the product in use or in a real-life setting. This helps potential buyers envision the product in their own lives.
- Detail Shots: Capture close-ups of important features, textures, and labels to provide a detailed view of the product.
- Scale: Include objects or props that provide a sense of scale, especially if the product’s size isn’t immediately obvious.
9. Review and Optimize
Once you’ve edited your photos, review them to ensure they meet your quality standards. Consider getting feedback from others to identify any areas for improvement.
- Test Different Approaches: Don’t be afraid to experiment with different setups, lighting conditions, and angles to find what works best for your product.
- Consistency: Ensure consistency across all your product images in terms of lighting, background, and composition. This creates a cohesive look for your brand or product range.
Conclusion
Shooting product photography at home doesn’t have to be complicated or expensive. With the right equipment, setup, and techniques, you can create professional-looking images that showcase your products effectively. Remember to take your time, experiment, and refine your approach to achieve the best results. Happy shooting! Looking for more ideas about the best shutter speed for portraits? Check out their page to learn more.

